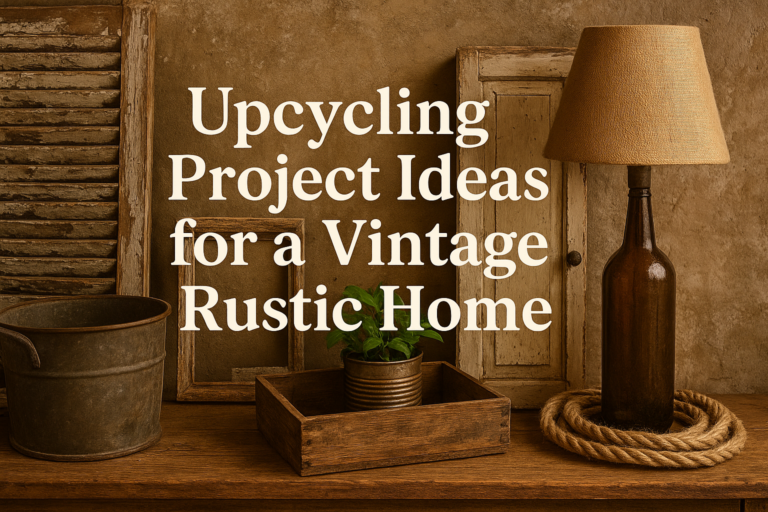
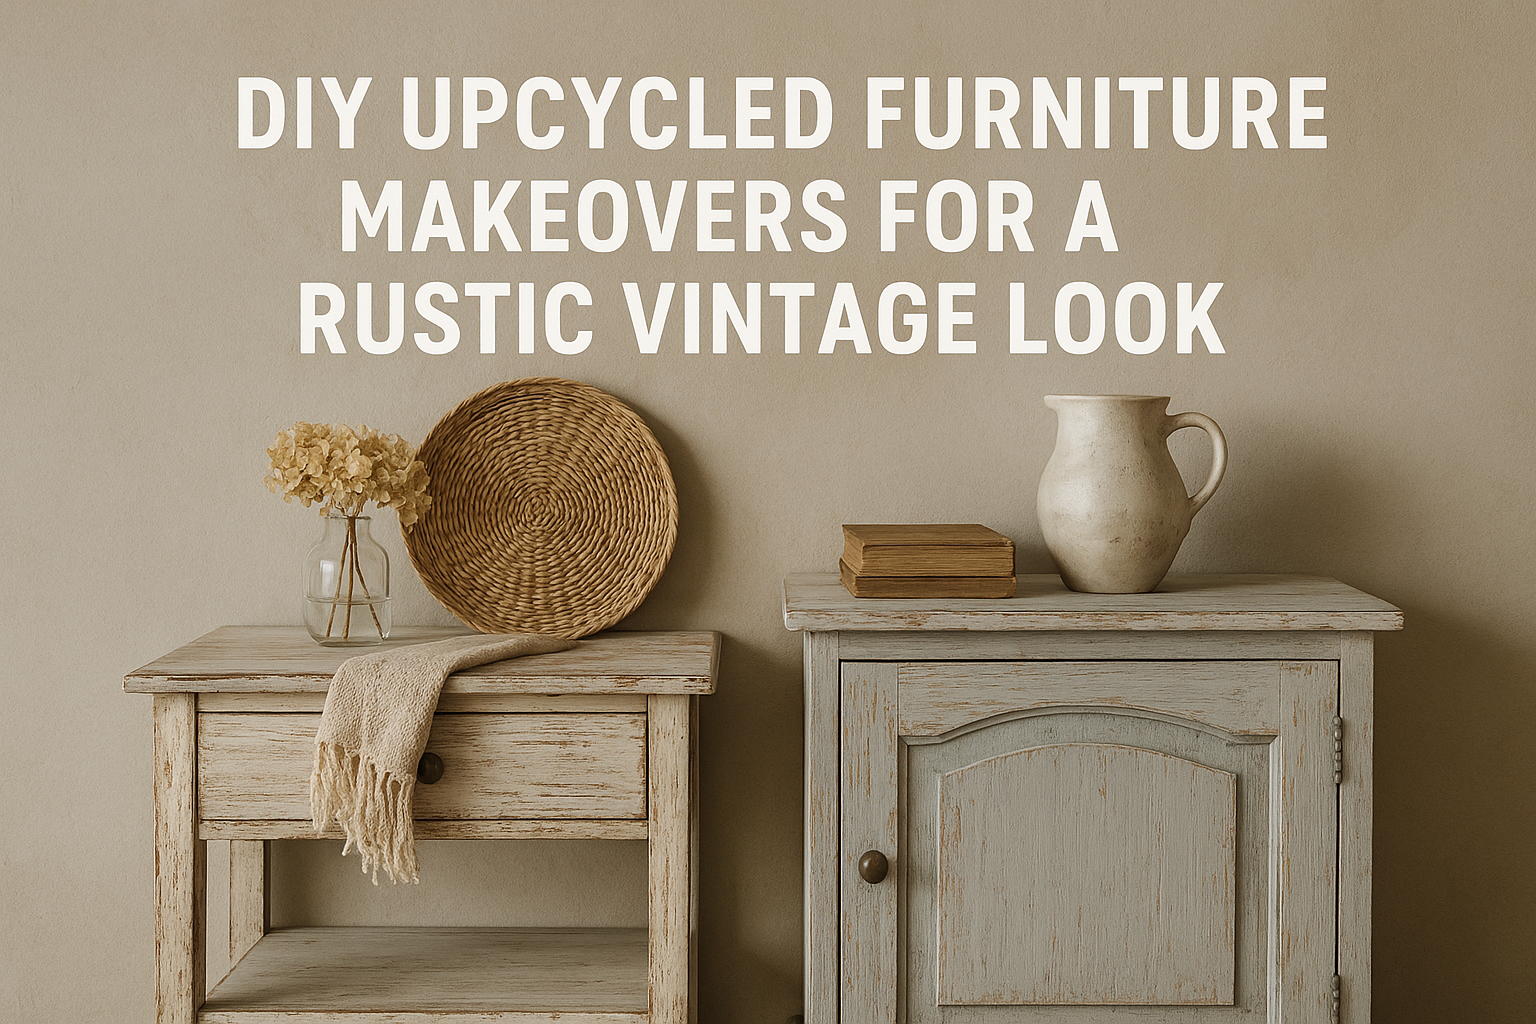
DIY Upcycled Furniture Makeovers for a Rustic Vintage Look
Upcycling old furniture into a rustic vintage look is a satisfying craft that layers history with your personal style. By giving neglected pieces a second life, you create furniture that tells a story while reducing waste. Below is a practical guide to achieve that warm, time-worn charm—without needing a full workshop or fancy gear.
Getting started: planning, prep, and supplies
– Choose the right piece: Look for solid wood frames with simple lines. Softwoods can work too, but check for loose joints, wobble, or deepest gouges that will need more repair.
– Visualize your finish: Decide whether you want a softly faded, whitewashed vibe; a rich, weathered stain; or a chippy, painted surface that looks aged and lived-in.
– Gather essentials:
– Hand sanders or sanding blocks, 120–220 grit for prep, plus a finer grit for finishing
– Drop cloths and old towels
– Painter’s tape and drop shadows or old newspaper to protect areas
– Primer (stain-blocking as needed), chalk paint or milk paint, optional glaze
– Finishes: wax (clear or tinted), polycrylic (water-based), polyurethane, or oil-based wax
– Brushes, rags, and a clean jar for water or solvents
– Rust- or patina-friendly hardware if you plan to swap knobs or pulls
– Prep steps:
– Clean the piece thoroughly to remove dirt, oil, and wax. A mild degreaser works well.
– Make any repairs: tighten joints, fill small dents with wood filler, and replace broken trim if needed.
– Protect the surrounding area and hardware you plan to reuse or replace.
Core techniques for a rustic vintage look
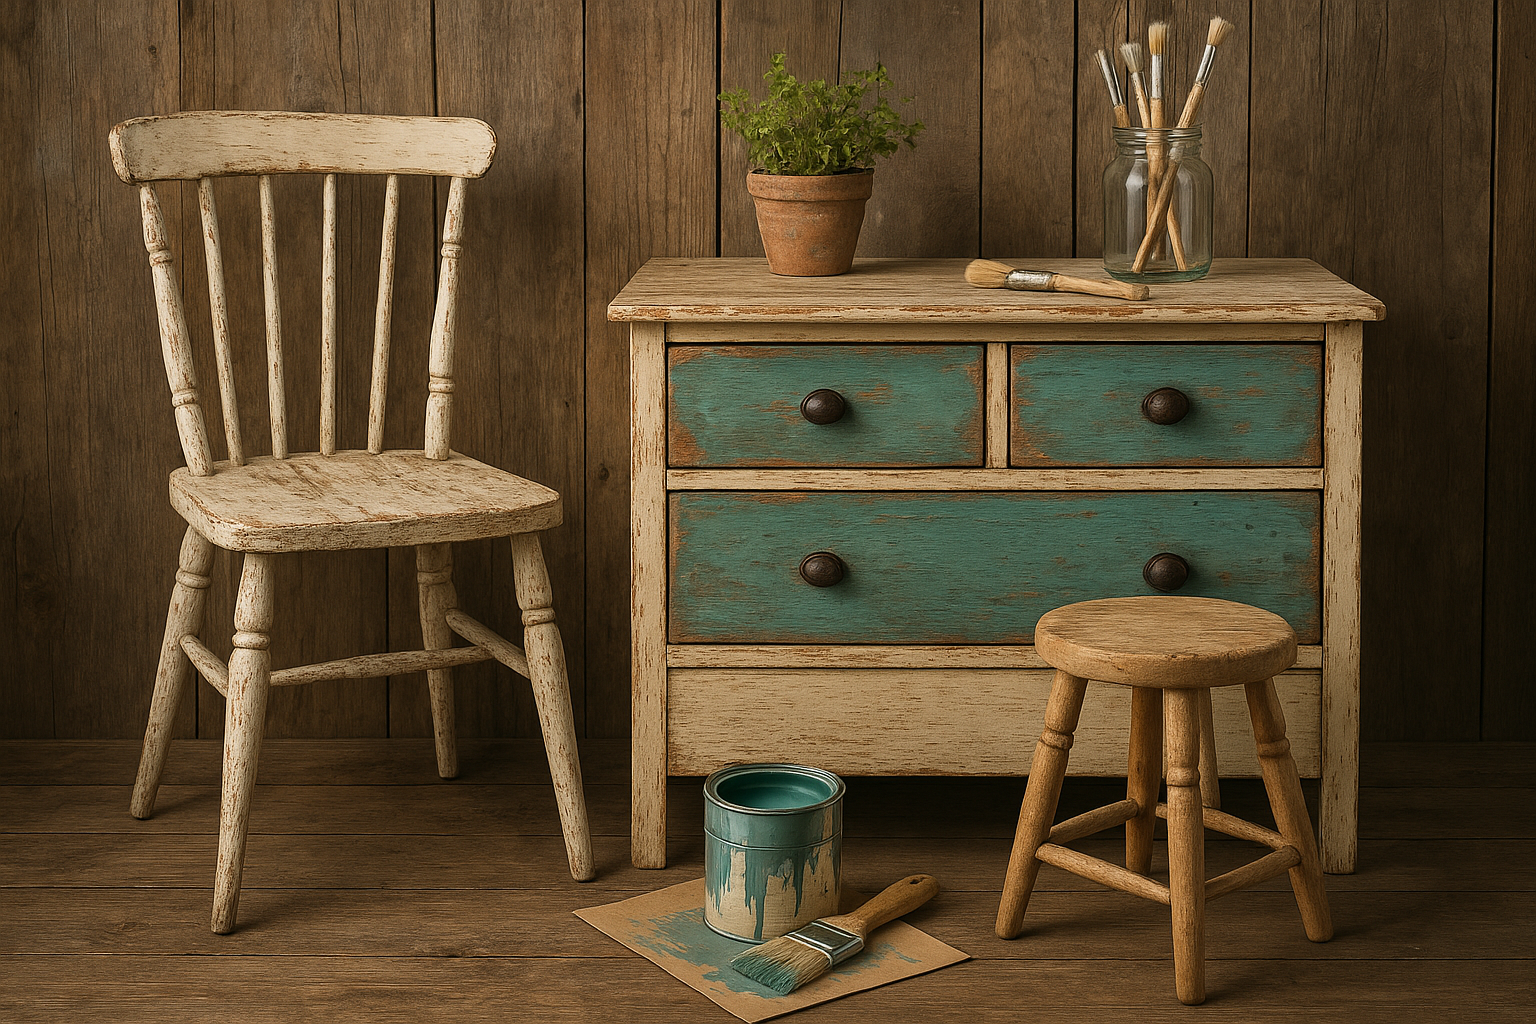
– Chalk paint and wax for a soft, vintage finish:
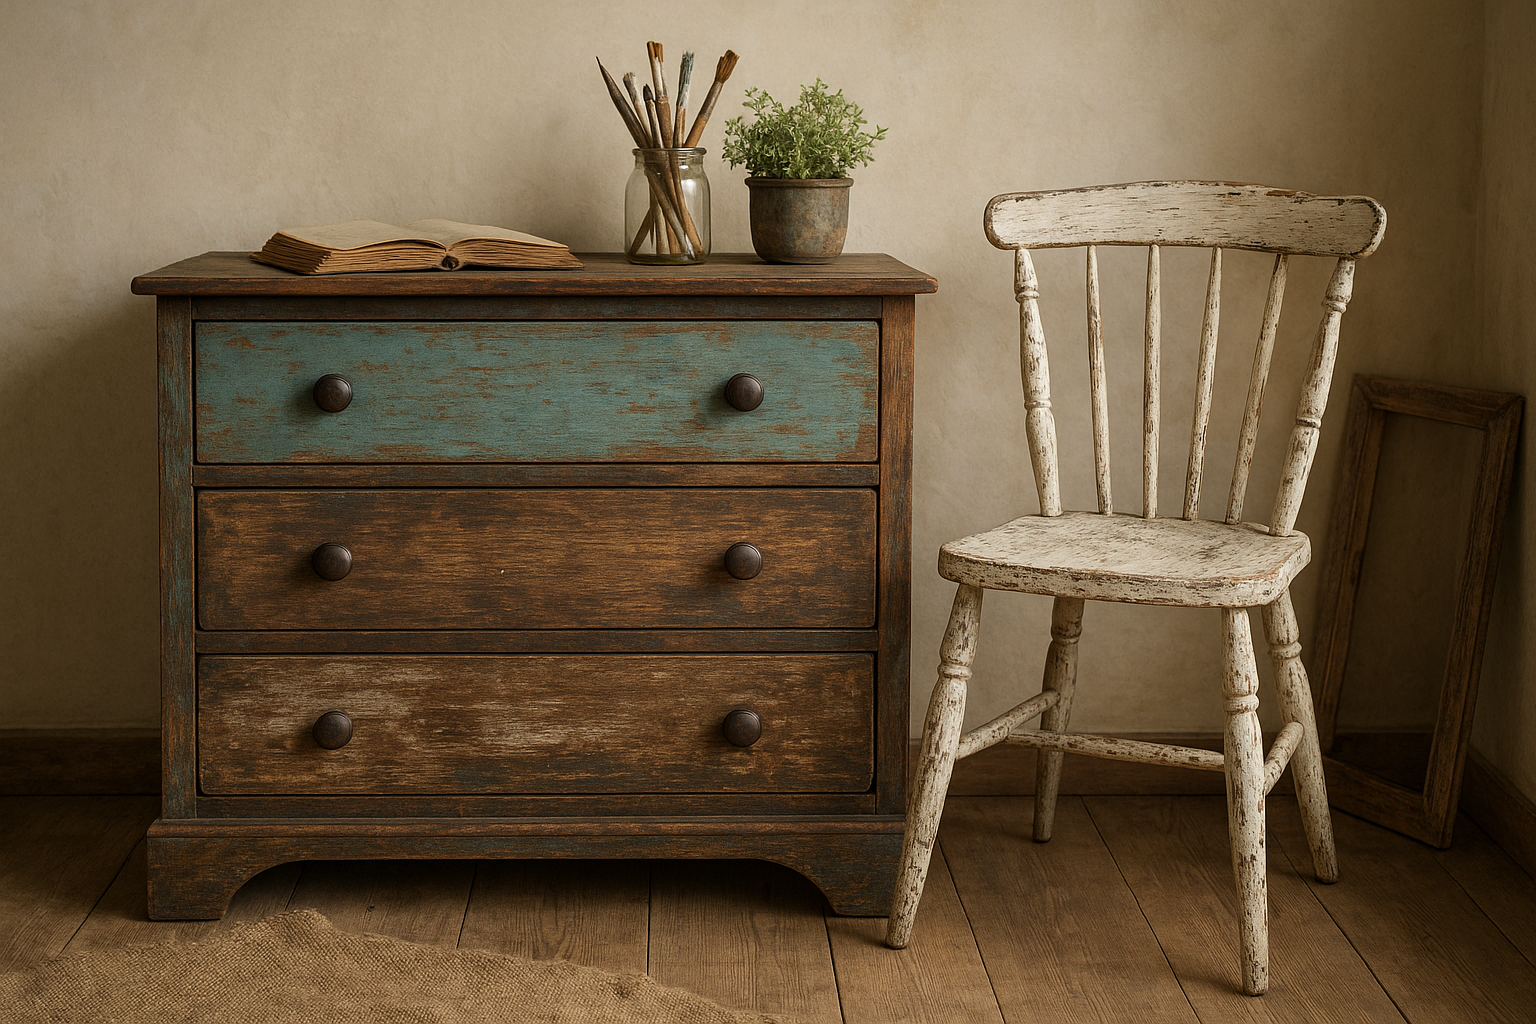
– Why it works: Chalk paint adheres well to aged surfaces and distresses easily, producing a matte, vintage look.
– How to do it: Lightly sand the surface, wipe clean, apply a thin coat of chalk paint, and let it dry. Lightly sand the edges and any raised details to reveal the wood or underlayers. Apply a clear or tinted wax to seal and age the piece further.
– Milk paint for authentic chipping:
– Why it works: Milk paint peels and chips in an irregular, natural way, mimicking vintage paintwear.
– How to do it: Mix or buy ready-to-use milk paint. Apply thin coats; multiple coats can be chipped intentionally by sanding or applying a topcoat sparingly. Seal with wax or a matte topcoat to protect.
– Whitewash and limed looks:
– Why it works: A diluted paint layer allows the grain to show through, creating a soft, sunlit vintage effect.
– How to do it: Mix a pale paint with water to a translucent consistency. Wipe on with a rag, following the grain, then wipe off excess. Build up layers gradually for depth.
– Glazing to add age and depth:
– Why it works: A glaze settles into crevices, accentuating details and giving a weathered patina.
– How to do it: After painting and drying, brush on a glaze (oil- or water-based). Wipe off excess with a rag, letting the glaze linger in the corners and carved details.
– Distressing for authenticity:
– Dry distressing: Gently sand edges, corners, and raised details after painting for natural wear.
– Wet distressing: Dab a cloth dampened with water to soften edges and remove paint in targeted spots.
Finishing touches that enhance a rustic vibe
– Hardware updates:
– Swap out dated knobs for bronze, brass, or aged nickel pulls to evoke vintage charm.
– Lightly patina metal parts with a rusting solution or a weathered oil to create a timeworn look.
– Layered finishes:
– Combine a base coat with a glaze and a final wax. The wax adds softness and depth, while glaze creates shadow and age in crevices.
– Color palettes to consider:
– Whites, creams, and bone with a hint of gray for a timeless, farmhouse vintage vibe
– Sage greens, dusty blues, or warm taupe for a slightly more eclectic rustic look
– Natural wood tones emphasized with a clear or lightly tinted wax for a warm, lived-in feel
– Protection and care:
– For light-use furniture, wax or water-based polycrylic offers a low-luster finish that preserves a vintage look.
– For high-traffic surfaces, consider a durable acrylic polyurethane or an oil-based finish, followed by wax for a soft feel.
– Always cure times: allow the finish to cure fully before heavy use; follow product guidelines to avoid sticks or tackiness.
A practical 8-step DIY project: upcycling a thrifted dresser into a rustic vintage piece
1) Assess and repair: Inspect drawers, rails, and joints. Glue loose joints, fill chips with wood filler, and sand rough edges.
2) Clean thoroughly: Remove grime and dust so paint adheres evenly.
3) Strip or prep the surface: Lightly sand to remove old finish if needed, then wipe clean.
4) Prime if needed: Use stain-blocking primer on dark woods or knots that may bleed through.
5) Apply base finish: Choose chalk paint for a matte, vintage look; lightly brush on and allow to dry.
6) Add texture or glaze: Apply glaze to corners and recessed areas to create depth; wipe away excess for a soft aged effect.
7) Distress and seal: Lightly sand raised edges to reveal underlying layers; apply wax or topcoat to protect the finish.
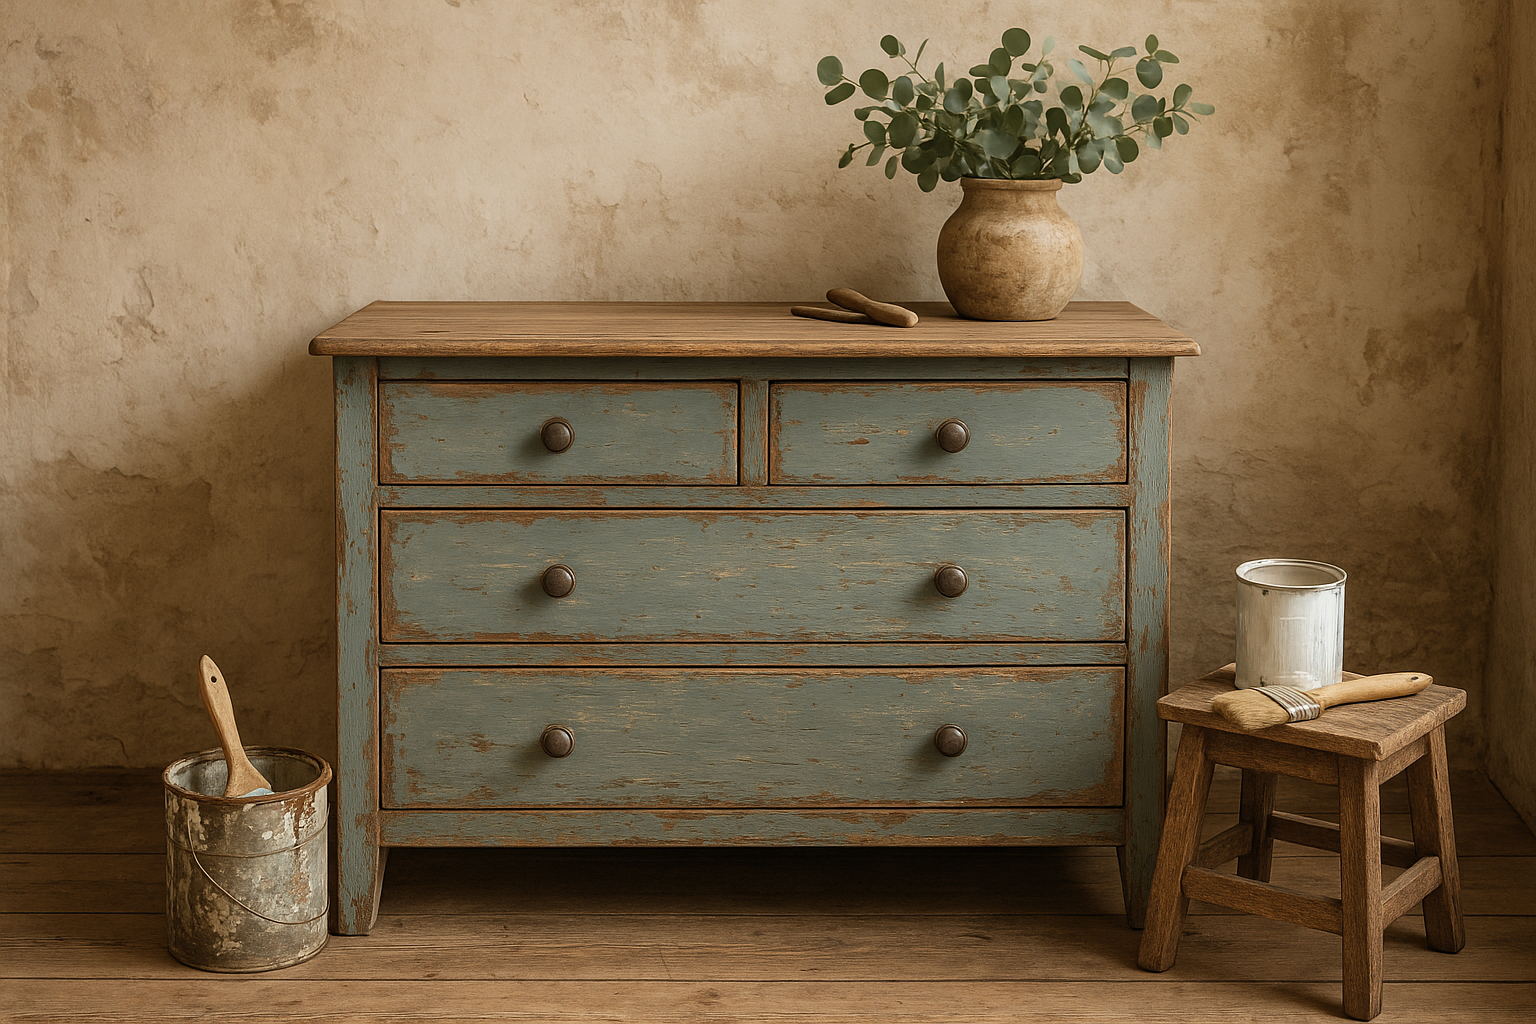
8) Update hardware: Replace or tarnish old pulls with vintage-style knobs to complete the look.
Cost-conscious tips and sustainability
– Start with a piece that has good structure; you’ll save on repairs and materials.
– Use leftovers from other projects for paint and finishes; thin with water or a compatible reducer to avoid waste.
– Test paint and glaze on a hidden area first to ensure the color and texture match your vision.
– Prioritize water-based products for indoor use and low odor, with a cleaner cleanup.
– Consider upcycling hardware from flea markets or thrift stores. A small investment in aged brass or patina can dramatically change the piece’s character.
Maintenance and care for a rustic vintage piece
– Dust regularly with a soft, dry cloth. Avoid harsh cleaners that can strip wax or paints.
– Periodically refresh the wax layer to maintain the soft, aged look and to protect the surface. Re-wax as needed.
– Place the piece away from direct sunlight and heat sources to minimize fading and drying out of finishes.
– Use coasters and placemats to protect the surface from moisture and heat.
Inspiration and where to start
– Look at old family pieces, estate sales, or thrift stores with simple silhouettes. A straightforward dresser, sideboard, or coffee table with a basic frame often yields the best vintage-updated results.
– Create a mood board with color swatches, hardware styles, and example finishes to guide your process before you touch the piece.
– Don’t rush the aging process. Part of the rustic vintage charm is the imperfect, lived-in character that emerges gradually with layers.
DIY upcycled furniture makeovers for a rustic vintage look celebrate character, sustainability, and personal taste. With a few essential supplies, careful planning, and a willingness to experiment with finishes and patinas, you can transform ordinary pieces into heirloom-worthy furniture that feels both nostalgic and refreshingly current.